Introducing the Task Manager
Introducing the Office Puzzle's Task Manager - Your Gateway to Effortless Productivity!
We are thrilled to announce a groundbreaking update to your favorite software, Office Puzzle. With this new addition, we're revolutionizing the way you interact with the platform, making your work more seamless and efficient than ever before. Say hello to the Office Puzzle's Task Manager!
Here's how the Task Manager will transform your productivity:
- Effortless Task Execution: Whether it's downloading important documents, printing files, creating backups, or any other routine task, you can now access them all with a single click. The Task Manager streamlines these actions, saving you precious time and reducing the hassle of multiple steps.
- Centralized Control: Imagine having a control center for your Office Puzzle tasks. The Task Manager serves as this centralized hub, making it easier than ever to monitor and manage your workflow. You'll have a clear overview of pending tasks and completed actions, allowing you to stay organized and focused.
- Enhanced User Experience: We understand that user experience is crucial. The Task Manager's intuitive interface ensures that you can quickly find the task you require, even if you're new to Office Puzzle. It's user-friendly and accessible, so you can start benefiting from it right away.
- Boosted Efficiency: By streamlining your interactions with Office Puzzle, the Task Manager frees up your time and energy to focus on what truly matters – your work. It's like having a personal assistant, ensuring that your tasks are completed swiftly and accurately.
We're committed to continually improving your Office Puzzle experience, and the Task Manager is one of many. As we move forward, you can expect even more exciting features and enhancements that will further elevate your productivity.
So, don't wait! Dive into the new Task Manager today and experience a more efficient and seamless way of working. Say goodbye to unnecessary complexity and hello to a brighter, more productive future with Office Puzzle!
* You can check more about Task Management here.

Backup Client

Name: Backup Client
Description: How to create a full backup of a Client.
Difficulty: Easy
Duration: Less than 2 minutes
Summary:
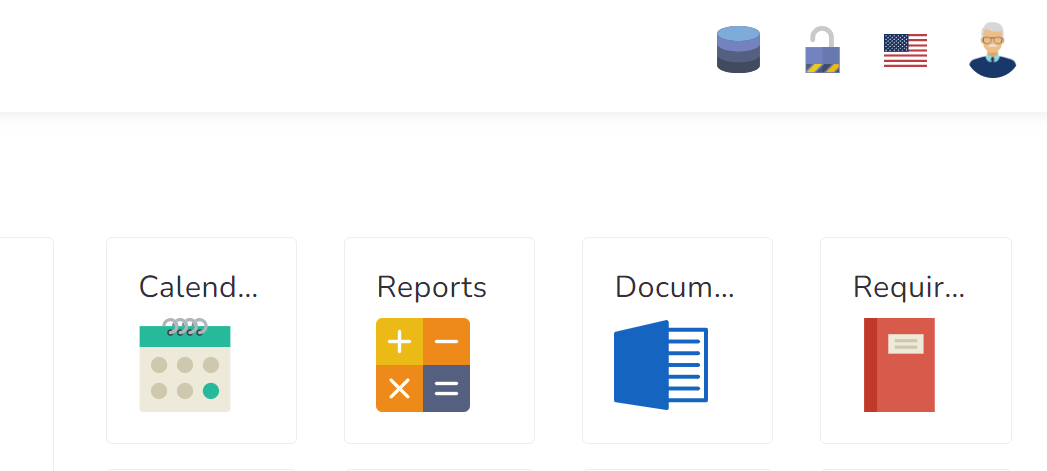
1. Go to Client's Dashboard.
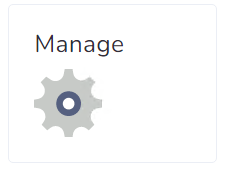
2. Click on Manage.
3. Click on the Backups tab.
4. Click on the Request Backup button.
5. Once the Backup is completed you will receive an email and the backup file will appear here for you to download.
Important Notes:
- This will backup all Documents associated with the client.
- You are responsible for the storage required for the data.
Backup Client
Step 1: Go to Client's Dashboard.

Step 2: Click on Manage.
Step 3: Click on the Backups tab.

Step 4: Click on the Request Backup button.

Step 5: Once the Backup is completed you will receive an email and the backup file will appear here for you to download.

After is done:


Charts

Charts
A chart is a highly effective way of presenting information since it tends to highlight the data behavior and trends better than tables. Any study or investigation that requires recollecting and managing data should include charts for a better analysis, interpretation, and visualization of the results. Among these, ABA Therapies need them to analyze client behavior over time.
Why use charts?
- Provides immediate access to the behavioral log.
- Having real-time info about the variations of data incentives exploration.
- Offers assistance when judging.
- Promotes independent judgment and interpretation.
- Effective source of feedback.
Charts in Office Puzzle
Office Puzzle offers the possibility to create charts with a powerful and fully customizable system while also providing a friendly and usable interface.
One of its main features is having multiple types of datasets available:
| Dataset | Description |
| Baseline | Expected behavior of data, used for comparative purposes |
| Average | Average of values through a day, week, month, or year |
| Total | The total value of data during a day, week, month, or year |
| Rate | Occurrence of an event during a unit of time |
| Count | The total value of data collected |
| Session count | Count of sessions during a day, week, month, or year |
There are other multiple features available such as:
- Show multiple datasets at the set time on the same chart
- Customize X and Y axis (title, color, max value, min value, etc)
- Customize each dataset (title, color, associated axis, type, etc)
- Add tags, solid, dashed, and dotted lines
- Show data on daily, weekly, monthly, or yearly intervals
As a team, we are confident that using the charts from our software will definitely make your work easier. If you need more information, just email us at hello@officepuzzle.com.

Create client event with EVV

Name: Create client event with EVV
Description: How to create an event/visit/session with EVV (Electronic Visit Verification)
Difficulty: Easy
Duration: Less than 2 minutes
Summary:
1. Go to Client's Dashboard.
2. Click on the Clock in button.
3. Fill in all the required fields.
4. Click on the Start Session button.
5. Now you can collect Data, capture Signatures, access linked Documents, etc.
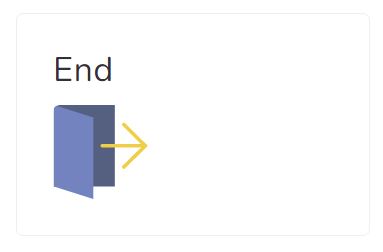
6. Once the visit is over, click on the End button.
7. Fill in all the required fields. (including Signature if required)
8. Click on the End Session button.
Important Notes:
- You are recommended to use our Mobile APP on your cellphone since GPS coordinates are more accurate.
- If you don't see the Clock In button, your agency might have disabled this feature for you.
- If GPS coordinates are required by the agency the device used (Phone, Tablet, Laptop) will need to have GPS capabilities and permission granted to Office Puzzle.
- You can also create an event directly from the Calendar, but this will not include EVV information. Please click here for more details.
Create client event with EVV
Step 1: Go to Client's Dashboard.
Step 2: Click on the Clock in button.

Step 3: Fill in all the required fields.
Step 4: Click on the Start Session button.

Step 5: Now you can collect Data, capture Signatures, access linked Documents, etc.
You continue working for the duration of the session.
Step 6: Once the visit is over, click on the End button.
Step 7: Fill in all the required fields. (including Signature if required)
Step 8: Click on the End Session button.


Link or Unlink events with documents

Name: Link or Unlink events with documents
Description: How to Link or Unlink events with documents.
Difficulty: Easy
Duration: Less than 2 minutes
Summary:
1. Go to Client's Dashboard.
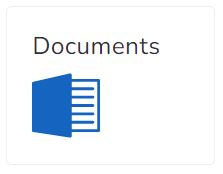
2. Click on the Documents button.
3. Look for the document you would like to Link/Unlink events and open it
4. Click on the Linked Events tab.
5. Check/Uncheck, the event(s) that you want to Link/Unlink with the document.
6. Click on the Update Linked Events button.
*** If you are missing or have extra information in your documents that is generated directly from the events in the calendar most probably the document is not linked to the events. These steps will help you Link/Unlink these events.
Link or Unlink events with documents
Step 1: Go to Client's Dashboard.
Step 2: Click on the Documents button.
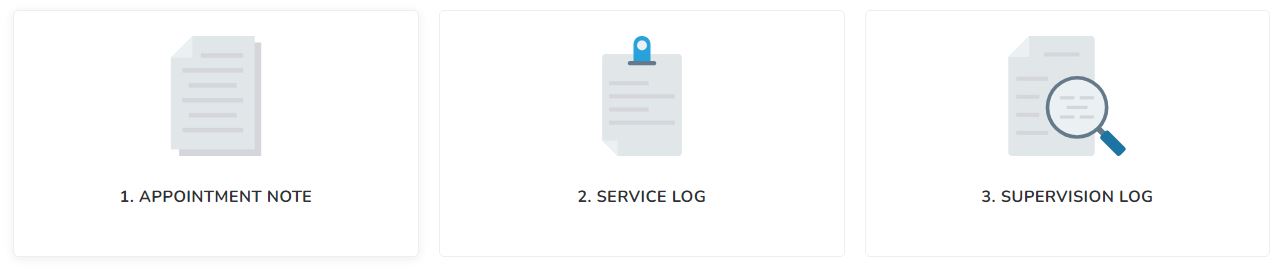
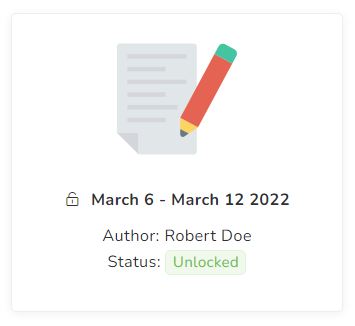
Step 3: Look for the document you would like to Link/Unlink events and open it
**** As an example, please note that your documents might be called different.
Step 4: Click on the Linked events tab.
Step 5: Check/Uncheck, the event(s) that you want to Link/Unlink with the document.
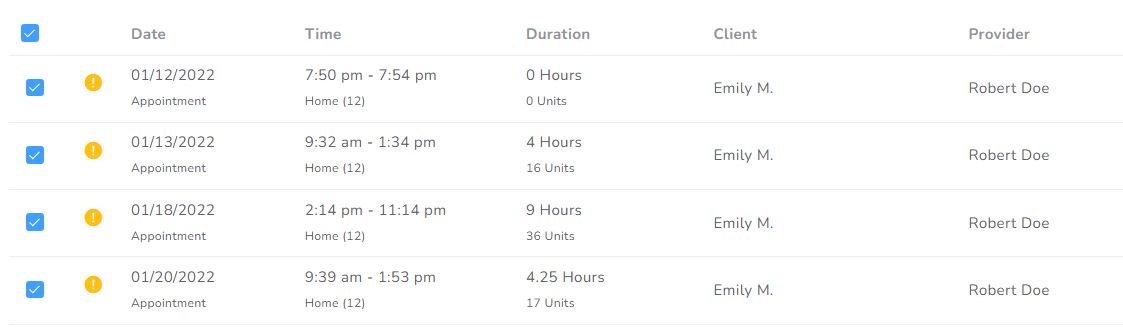
Step 6: Click on the Update Linked Events button.

Data Collection

¿What is Data Collection, why is it important?
Data collection is the process of recording information, using different methods, according to the type of service provided. By using data collection and analysis methods, it is easier for professionals to measure and report accurate and real data in order to make the right decisions in determining what will be the most effective way to modify or improve the quality of the services they provide.
There are several types of data collection. For example, in the case of some therapies such as ABA, an analyst will determine what kind of data to collect depending on the type of information he or she needs about the behavior or response being evaluated.
Office Puzzle provides you with a detailed data collection system, fast and easy to handle. With several ways to add, organize, visualize and analyze with care and precision your client's data. Making the difficult and tedious work of adding handwritten information disappear.
Our system has implemented more than 15 data collection methods, on which we have worked to perfect it for your benefit, that you can employ regardless of the therapy you are using for your client.
| Type | Description | Methods |
| Event Recording | The number of occurrences by a unit of time. Ex: hour, day, week, interval. | Frequency, Count, Rate |
| Time Sampling | Collect data at periodic points in time or time periods rather than on a consistent basis. | Whole Interval, Partial Interval, Momentary Time Sampling |
| Timing | Length of time the behavior, or event occurred. | Duration, Response Latency, Interresponse Time |
| Trial | Several ways to easily record whether a response has been Correct, Incorrect, or there was no response to the test applied. | Discrete Trial Teaching, Incident Teaching, Percentage of Opportunities |
| Task analysis | Task analysis is used to break complex tasks into a sequence of smaller steps or actions. | Forward Chaining, Backward Chaining, Total Task Chaining, Backward Chaining with Leaps Ahead |
Data collected in the system is linked directly to the graph to be able to follow the progress of your client.
We mostly offer two ways of collecting data, click on each one of the methods below to learn more about it.
As a team, we are confident that collecting your client's data from our software will definitely make your work easier. If you need more information, just email us at hello@officepuzzle.com.

Create client event from calendar

Name: Create client event from calendar
Description: How to create an event/visit/session from the Client's Calendar.
Difficulty: Easy
Duration: Less than 2 minutes
Summary:
1. Go to Client's Dashboard.
2. Click on the Calendar button.
3. Select the day when you want to create the event.
4. Fill in all the required fields. (including Signature if required)
5. Click on the Save/Save & Close button.
*** Please note, this will create all required documents linked to this event as well.
Create client event from calendar
Step 1: Go to Client's Dashboard.
Step 2: Click on the Calendar button.

Step 3: Select the day when you want to create the event.
Step 4: Fill in all the required fields. (including Signature if required)
Step 5: Click on the Save/Save & Close button.

https://www.youtube.com/watch?v=_KHb6d-mcvw
Save user signature

Name: Save user signature
Description: How to save the signature of a User
Difficulty: Easy
Duration: Less than 1 minute
Summary:
1. Access your profile.
2. Click on the Manage button.
3. Click on the Signature tab.
4. Click on the New signature.
5. Draw the new signature inside the box.
6. Click on the green button Sign.
How to save my signature
Step 1: Access your profile.
 or
or 
Step 2: Click on the Manage button.
Step 3: Click on the Signature tab.

Step 4: Click on the New signature.

Step 5: Draw the new signature inside the box.

Step 6: Click on the green button Sign.