Tutorials
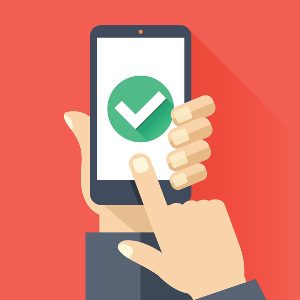 Create client event with EVV
March 11, 2022
How to create an event/visit/session with EVV (Electronic Visit Verification). Including actual start and end times and GPS coordinates.
Create client event with EVV
March 11, 2022
How to create an event/visit/session with EVV (Electronic Visit Verification). Including actual start and end times and GPS coordinates.
 Link or Unlink events with documents
March 9, 2022
Follow these steps if you are missing some information in your documents that are coming from the events you already…
Link or Unlink events with documents
March 9, 2022
Follow these steps if you are missing some information in your documents that are coming from the events you already…
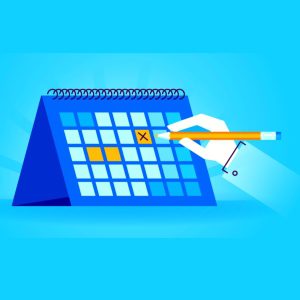 Create client event from calendar
March 9, 2022
Instructions on how to create an event from the calendar for a client. Please note this will create all required…
Create client event from calendar
March 9, 2022
Instructions on how to create an event from the calendar for a client. Please note this will create all required…
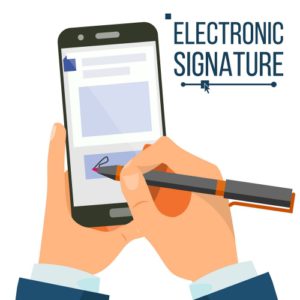 Save user signature
January 4, 2022
Instructions on how to save your own user signature for later use, avoiding having to input the same signature over…
Save user signature
January 4, 2022
Instructions on how to save your own user signature for later use, avoiding having to input the same signature over…
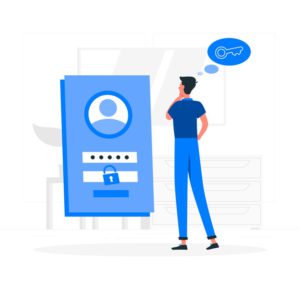 Reset Password
June 9, 2021
How to reset the password for your account over Office Puzzle.
Reset Password
June 9, 2021
How to reset the password for your account over Office Puzzle.